Directions: Please read everything before you begin.
Choose one activity to start with your partner:
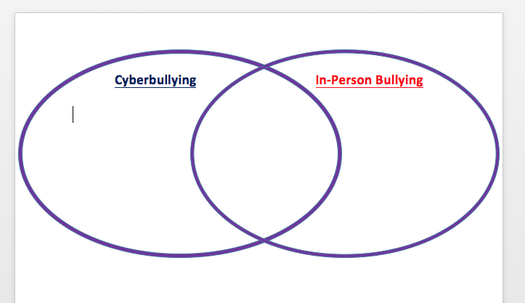
1. How is Cyberbullying Similar to, and Different than, In-Person Bullying? Create a Venn Diagram on Microsoft Word to compare and contrast the two types of bullying. Be sure to make font changes (size, style, color) and include at least 3 statements or points in each section of your diagram, as well as images that relate to the content. You can go to INSERT > SHAPES and draw 2 unfilled ovals or "donuts", then overlap them to make your Venn diagram. (See example of drawing the ovals below.) You will need to wrap the images "behind text." *You can find instructions on how to wrap text at the bottom of this page.

|
|
2. Anti-Cyberbullying PSA. A PSA, or public service announcement, teaches the public about an important topic or issue, and tries to change their opinion and raise awareness on that issue. Create a PSA in the style of a Poster using Microsoft Word or a slideshow using PowerPoint. Be sure to include a definition of cyberbullying, examples of what it may look like or how/where it could happen, as well as what to do if it happens to you (3 or more strategies for dealing with a cyberbullying situation).
Save your work and submit it through Google Classrooms using the Third Grade Work student account, [email protected].
*After you SUBMIT your work, close that tab and make sure you sign out of that account before you COMMAND + Q!
3. Code an Online Safety Story using the PlayLab on code.org. Click here and choose View Full List, then find Play Lab to create a story on code.org using characters that teach how to stay safe online. You may want to talk about personal and private information and explain why certain things are ok to share, and how others are not ok to share online. Or, you may want to talk about what cyberbullying is and how to handle it if it happens to you. Be sure to teach your audience something about online safety, and explain why they should be aware of what you're teaching.
Use at least:
-2 characters
-action blocks that allow your characters to speak and move.
-background
Be creative!
Post the link to your finished story on Google Classrooms.
Helpful Tips for Working with Pictures on Microsoft Word
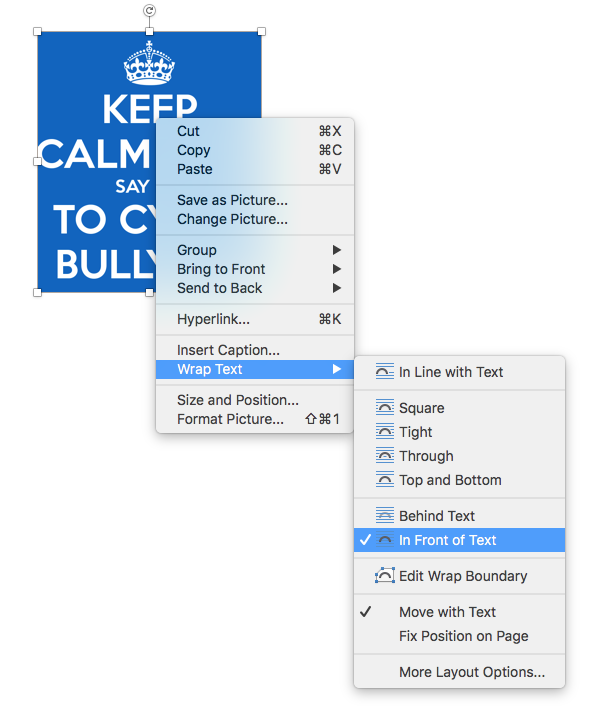
*To be able to move a picture freely on the page, you must change the way the picture "wraps" with the text.
To do this:
1. Right-click on the picture. [If you have a 1-button mouse remember
to press control and click.]
2. Hover over Wrap Text, then choose In Front of Text.
3. Now you can drag the picture wherever you'd like.
*Don't forget you can rotate the picture at different angles by clicking and dragging the curved arrow at the top-center of the image.
Want more information on cyberbullying?
Click the image below to read more.

